


Computing has become an integral part of our daily lives, and for many of us, laptops are essential tools for work, study, & entertainment. However, there are situations where you might want to Disable your laptop’s keyboard, especially if you’re using an external keyboard or experiencing accidental keystrokes while using the touch screen. In this guide, we’ll walk you through the steps to turn off your laptop keyboard in Windows (10 ,11), ensuring smoother functionality for your computing experience.
Open Device Manager for Keyboard Management
To begin the process of disabling your laptop keyboard, you’ll first need to access the Device Manager in Windows. Start by logging into Windows and ensuring your system is up-to-date through Windows Update. Once ready, follow these steps:
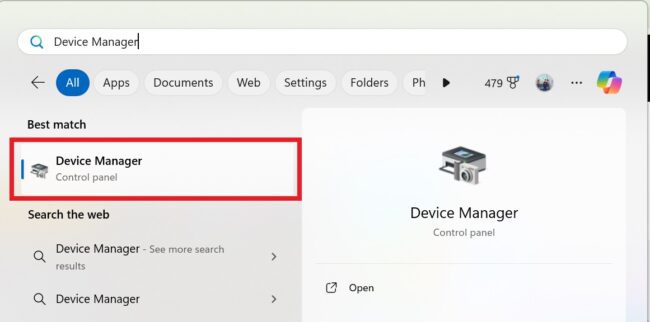
- Navigate to Device Manager: Click on the Start menu and type “Device Manager” in the search box. The top result should be the Device Manager app; click to open it.
Find Your Laptop Keyboard
Within Device Manager, you’ll find a comprehensive list of hardware components, including keyboards. Here’s how to locate your laptop’s internal keyboard:
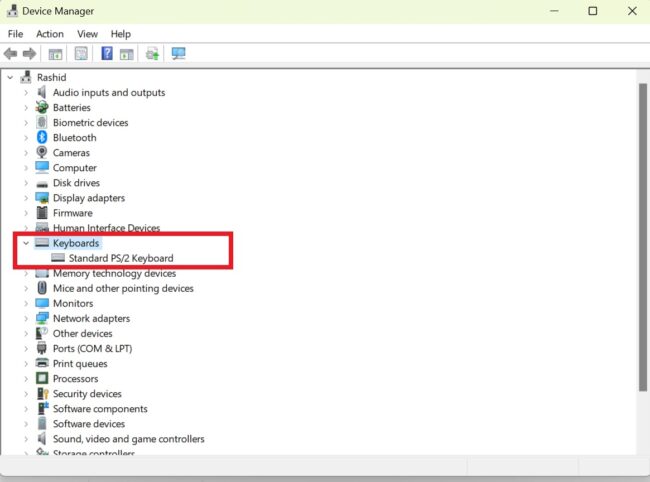
- Identify Keyboards: Look for the “Keyboards” option in Device Manager and select it.
- Locate Internal Keyboard: Your laptop’s internal keyboard may be listed as “Standard” or “HID.” Disconnect any external keyboards if necessary to ensure you’re targeting the correct one.
Disable Your Laptop Keyboard
Depending on your laptop model, you can disable the keyboard using different methods. Here are the options:
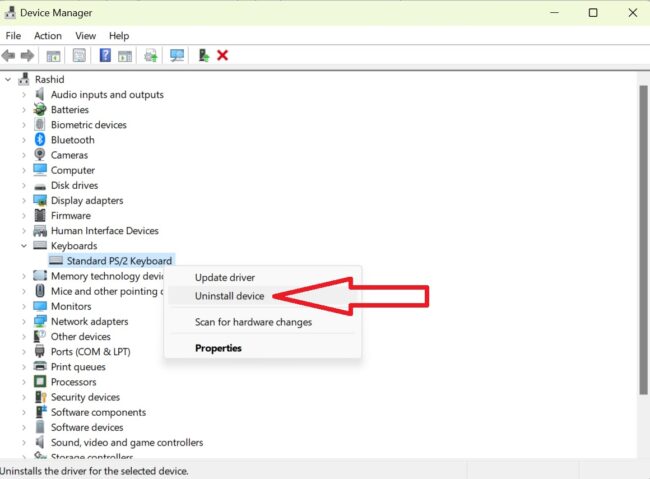
- Right-click and Disable: If the “Disable” option is available upon right-clicking your internal keyboard, select it to turn off the keyboard instantly.
- Uninstall Keyboard Drivers: If the “Disable” option is not present, choose “Uninstall” to remove the keyboard drivers temporarily. Note that Windows may reinstall the drivers upon restart, requiring multiple attempts for a lasting effect.
Turning Your Keyboard Back On
Once you’ve disabled your laptop’s keyboard, you may need to re-enable it at some point. Here’s how to do it:
- Access Device Manager: If you disabled the keyboard accidentally or need to re-enable it, navigate back to Device Manager using another keyboard or through the Start menu.
- Enable or Update Keyboard: Right-click on the disabled keyboard in Device Manager and choose “Enable” or “Update.” Windows may reinstall the drivers, restoring keyboard functionality.
Also read: How to Search with an image on Google ?
Essential SEO KPIs to Monitor Website
Related Searches:
- how to permanently disable laptop keyboard in (windows 10)
- external plugged keyboard in windows 10
- disable keyboard keys
- disable keyboard mac
- disable keyboard shortcuts